Refinished floors look great on day one. But keeping them that way? That is where most people get stuck.
I have worked with hardwood floors for years, and I know how fast a fresh finish can wear down without the right care.
In this blog, you will learn how to stop scratches and fading before they start. You will also find out how often your floors actually need refinishing and pick up simple daily habits that protect your investment.
You do not need fancy products or hours of hard work. Just a few smart steps done consistently. I will walk you through everything in simple, clear steps you can start using today.
What Is Color Refinishing Hardwood Floors?

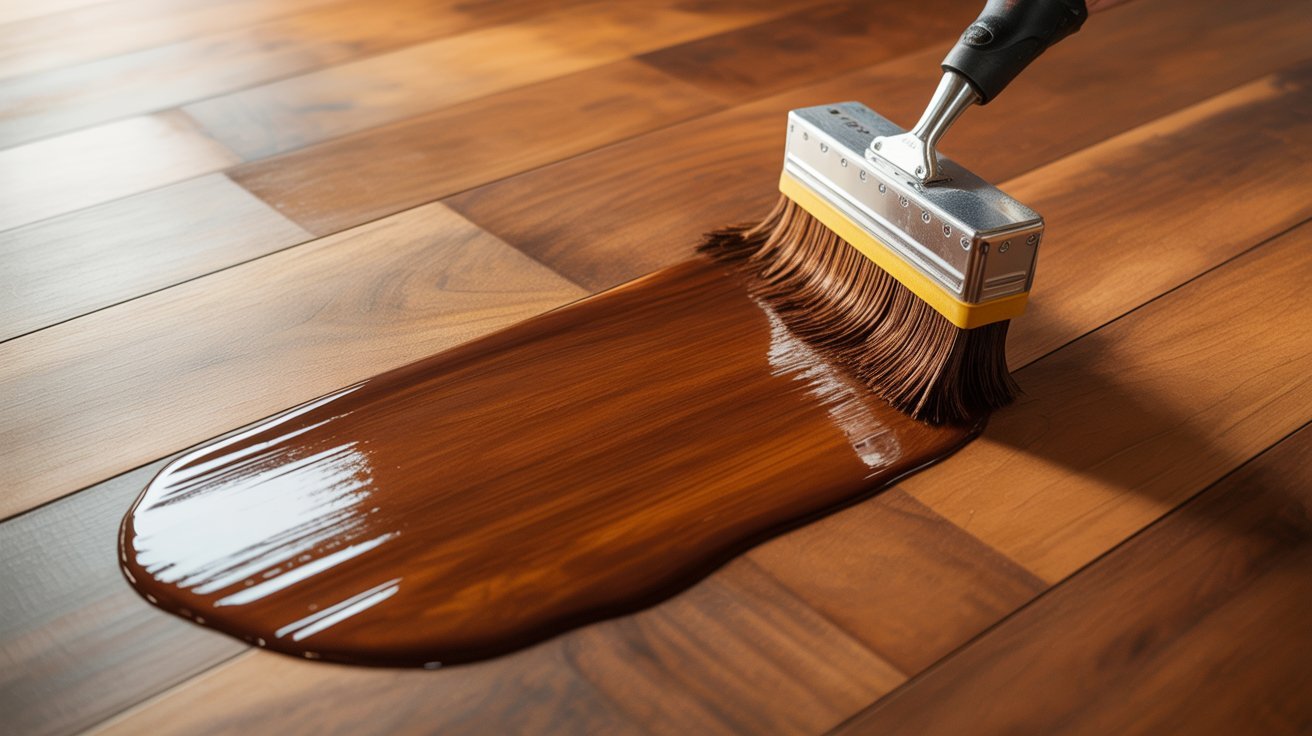
Color refinishing hardwood floors is a practical and budget-friendly way to update your living space without replacing the entire floor. It involves sanding down the old finish to bare wood, applying a fresh stain color of your choice, and sealing it with a protective coat.
This process effectively covers scratches, fading, and dullness that build up over time. You can choose from a wide range of shades, from light natural tones to deep, rich colors, depending on what suits your space.
The whole process takes just a few days and costs far less than a full floor replacement. With proper care, the results can last anywhere from 7 to 10 years or more.
If your floors are structurally sound but look old and worn, color refinishing is the smartest and most cost-effective solution to give them a fresh, clean look.
Best Stain Colors for Hardwood Floors
Choosing the right stain color can change how your entire home feels. The right shade brings warmth, character, and style to any room.
Light, Dark, and Natural Stain Ideas

Light stains work well in smaller rooms and make spaces feel open and airy. Shades like white oak, honey blonde, and natural pine are popular picks. They also hide dust and fine scratches better than darker options.
Dark stains give a bold, rich look to larger rooms. Colors like ebony, dark walnut, and jacobean are top choices. Just keep in mind that dark floors show dust and pet hair more easily, so regular cleaning is a must.
A natural stain lets the wood grain show through with just a hint of color. It works great for anyone who wants a clean, simple look. Natural tones age well and blend with most furniture styles.
Oak Color Refinishing Hardwood Floors Tips

Oak takes stains very well, making it a top choice for refinishing projects. Always sand the floor before applying stain to get an even result. Test your chosen color on a small section first, since oak can pull red or orange tones depending on the brand and lighting.
Use a pre-stain conditioner to reduce blotching and get a smoother finish. Once the stain dries, seal it with a satin or matte topcoat to protect the floor long term.
If you are not confident with sanding or staining, hiring a professional is always the smarter move.
Tools and Materials Needed
Having the right tools and materials on hand makes wood finishing smoother and gives you better results every time.
Sanders and Sandpaper Grit Guide

Sanding is one of the most important steps in wood finishing. Use an orbital sander for flat surfaces, a belt sander for rough wood, and a detail sander for tight corners.
For grit, start at 40 to 60 for heavy removal, move to 80 to 120 for smoothing, and finish with 150 to 180 before applying any coat. Use 220 or higher between coats.
Always sand with the wood grain and move through grits gradually. Skipping grits can leave scratches that show through the finish.
Stains, Sealers, and Polyurethane Finishes

Stains add color while keeping the natural grain visible. Water-based stains dry faster while oil-based stains give a warmer, deeper tone. Always test on a scrap piece first.
For porous woods like pine or maple, use a pre-stain conditioner so the color spreads evenly.
Polyurethane forms a hard protective topcoat.
Oil-based versions are durable with a slight amber tone while water-based versions dry clear and faster. Apply thin coats, sand lightly with 220-grit in between, and aim for three coats on most projects.
How to Prepare Hardwood Floors for Refinishing

Prep work is what makes or breaks a refinishing job. Do it right and the final result will speak for itself.
Cleaning and Repairing the Floor
Clear the room and sweep and mop with a hardwood-safe cleaner. Hammer down raised nails, fill cracks with wood filler, then sand in stages following the wood grain.
Finish by vacuuming and wiping with a tack cloth.
Protecting Rooms from Dust
Turn off your HVAC and cover all vents with plastic sheeting. Hang plastic sheets over doorways and seal gaps under doors.
Always wear an N95 respirator while sanding, then vacuum all surfaces before applying any finish.
Easy Steps to Sand and Stain Hardwood Floors
Learn how to sand and stain your hardwood floors the right way with simple steps and clear tips.
Sanding Hardwood Floors Correctly

Clear the room and remove all furniture. Pull out any nails sticking up from the floor before you start.
Always sand in the direction of the wood grain. Start with coarse-grit sandpaper (36 or 40), move to medium (60), then finish with fine grit (80 or 100).
Keep the sander moving at a steady pace. Stopping in one spot too long can damage the wood. Once done, vacuum the floor and wipe it with a tack cloth to remove all dust.
Applying Stain Evenly
Test the stain on a small hidden area first to check the color. Use a wide brush or staining pad and work in small sections, always going with the grain.
Apply thin coats and wipe off any extra stain before it dries. Let each coat dry fully before adding another. Never skip the drying time between coats.
Common Mistakes to Avoid

Skipping prep work leaves flaws under the stain. Jumping from coarse to fine grit without a middle step causes visible scratch marks on the wood.
Applying too much stain at once leads to blotchy results. Always build up color with thin layers. Rushing drying time between coats creates a sticky and uneven finish.
Do not forget to hand-sand the edges and corners. The drum sander cannot reach those spots. Always wear a dust mask and eye protection throughout the process.
Applying Polyurethane Finish
Polyurethane protects wood surfaces and gives them a clean, long-lasting look that holds up well over time.
Water-Based vs. Oil-Based Finish

Water-based polyurethane dries faster, has little odor, and stays clear over time. It works well on light-colored woods and cleanup only needs soap and water.
Oil-based polyurethane takes longer to dry but builds a thicker, more durable coat. It adds a warm amber tone, making it a good pick for high-traffic floors. Make sure the space is well ventilated since the fumes are strong.
For furniture, water-based is the easier option. For floors with heavy daily use, oil-based tends to last longer.
Drying and Curing Tips

Drying and curing are not the same thing. Drying is when the surface feels dry to the touch. Curing is the full hardening process that happens underneath and takes much longer.
Water-based finishes dry in about two hours and cure in roughly two weeks. Oil-based finishes take six to eight hours to dry and up to a month to fully cure.
Apply thin, even coats and lightly sand between layers with 220-grit sandpaper. Keep the space warm and dry, and avoid placing anything heavy on the surface until it is fully cured.
Easy Maintenance Tips After Refinishing
Keeping your refinished floors in good shape does not have to be hard. A little care goes a long way.
- Place felt pads under all furniture legs to stop chairs, tables, and sofas from leaving scratch marks when moved across the floor.
- Lay area rugs in high-traffic spots like hallways and living rooms to protect the finish from heavy daily foot traffic.
- Use curtains or blinds during peak sunlight hours since UV rays can slowly fade the floor color over time.
- Skip wet mopping and use a lightly damp cloth or dry mop instead. Clean up spills right away so water does not sit and damage the finish.
- Check your floor every few years by doing a simple water drop test. If water soaks in fast, the finish is worn and it may be time to refinish. Most floors need this done every 7 to 10 years depending on use.
Conclusion
Taking care of refinished floors is simpler than most people think. Honestly, when I started using felt pads and cutting back on wet mopping, I noticed a real difference within weeks. Small changes like these protect your investment for years.
Your floors work hard every day, so a little attention goes a long way. Try one tip this week and see how it feels.
If this helped you, drop a comment below or share it with someone who just refinished their floors!
Frequently Asked Questions
What is the best way to clean refinished hardwood floors?
Use a dry mop or a lightly damp cloth for regular cleaning. Avoid wet mopping since too much water can wear down the finish quickly.
How long should I wait before placing furniture on refinished floors?
Most floors need at least 24 to 48 hours before placing furniture back. Waiting the full time helps the finish set properly and prevents unwanted marks.
Can area rugs damage a newly refinished floor?
Area rugs are safe to use but wait a few weeks before placing them down. Some rug backings trap moisture, which can affect the finish if placed too soon.
How do I know when my floor needs to be refinished again?
Look for dull patches, visible scratches, or areas where the finish has worn away. You can also try a water drop test to see if the finish is still doing its job.
Does sunlight really affect refinished hardwood floors?
Yes, direct sunlight can slowly fade the floor color over time. Using blinds or curtains during peak daylight hours helps slow down this process and keeps the color looking fresh longer.